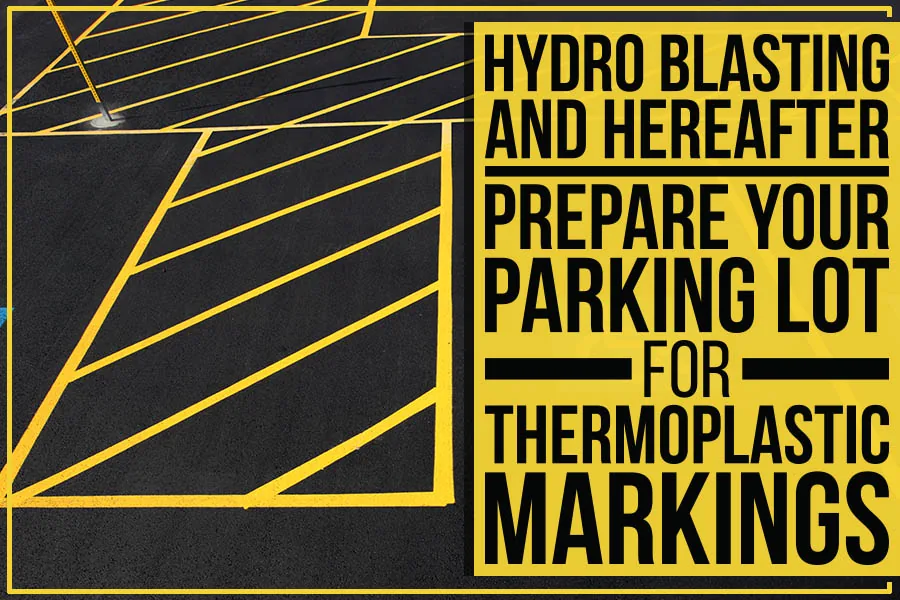
Parking lot markings are an essential part of traffic control and organization. When they become faded or worn, it can be difficult for drivers to navigate the lot and understand where they should and should not park.
Hydro blasting is an effective way to remove old markings, but you’ll need to take some additional steps before installing new thermoplastic markings.
[ez-toc]
In this blog post, Landmark Paving will discuss what those steps are. Keep scrolling to learn more!
Step 1: Dry Your Parking Lot
While hydro blasting doesn’t leave any pooling water behind, the parking lot will be wet. You’ll need to wait for it to dry completely before continuing. This could take a few hours or up to a day, depending on the weather.
We recommend leaving your parking lot surface for at least 24 hours to be on the safe side. To create a strong bond with the asphalt bitumen, an adequately applied thermoplastic line must melt, wet, and fuse with the pavement underneath. If the surface is damp or dirty, it will hinder the process.
Step 2: Use the Right Thermoplastic
There are two types of thermoplastics: hydrocarbon and alkyd.
Hydrocarbon thermoplastics come from petroleum-derived resins, making them compatible with oil and diesel fuels. They’re best used for long-line applications.
On the other hand, Alkyd thermoplastics are made from wood-derived resins, renewable natural resources. They provide excellent sealing against oil and diesel fuels.
Both these types work well on their own, but never try to mix them. The wrong thermoplastic can result in a sub-par job that might not last as long as it should.
Step 3: Gather Your Equipment
To achieve a high-quality thermoplastic application, you’ll need a few critical pieces of equipment:
- Melting kettles
- Mixing and agitating equipment
- Priming equipment
- Glass bead dispenser
- Extrusion dispensing devices
- Ribbon dispensers
- Spray dispensing devices
Ensure that the equipment you’re using is in good condition and clean. Any dirt or debris will show through in the final product.
Step 4: Apply the Primer
Before diving right into this point, always ensure that the parking lot surface and air temperatures are above 50 degrees Fahrenheit. Once you’re satisfied, we’ll move on to the next step.
Inspect your priming or sealing equipment and confirm that it’s capable of disbursing the primer at the rate prescribed by the manufacturer. You might use a mobile-type thermoplastic applicator to mount your primer spray equipment. Another option could be a separate portable push or mobile-type spray machine.
Whatever the type, by spraying the primer at the rate specified by the manufacturer, you’ll be able to achieve the correct thickness for thermoplastic application.
However, before jumping right into applying the thermoplastic, ensure that the pavement is completely dry. Any residual primer solvent could interfere with the bonding process.
Reach out to Landmark Paving for thorough and reliable hydro blasting services in Oviedo and FL. We will have your parking lot clean, dry, and ready for new thermoplastic markings! What are you waiting for?